The Best Shading Techniques Guide: 7 Simple Tips For Every Artist
Heads up: This post may contain affiliate links. Learn more.
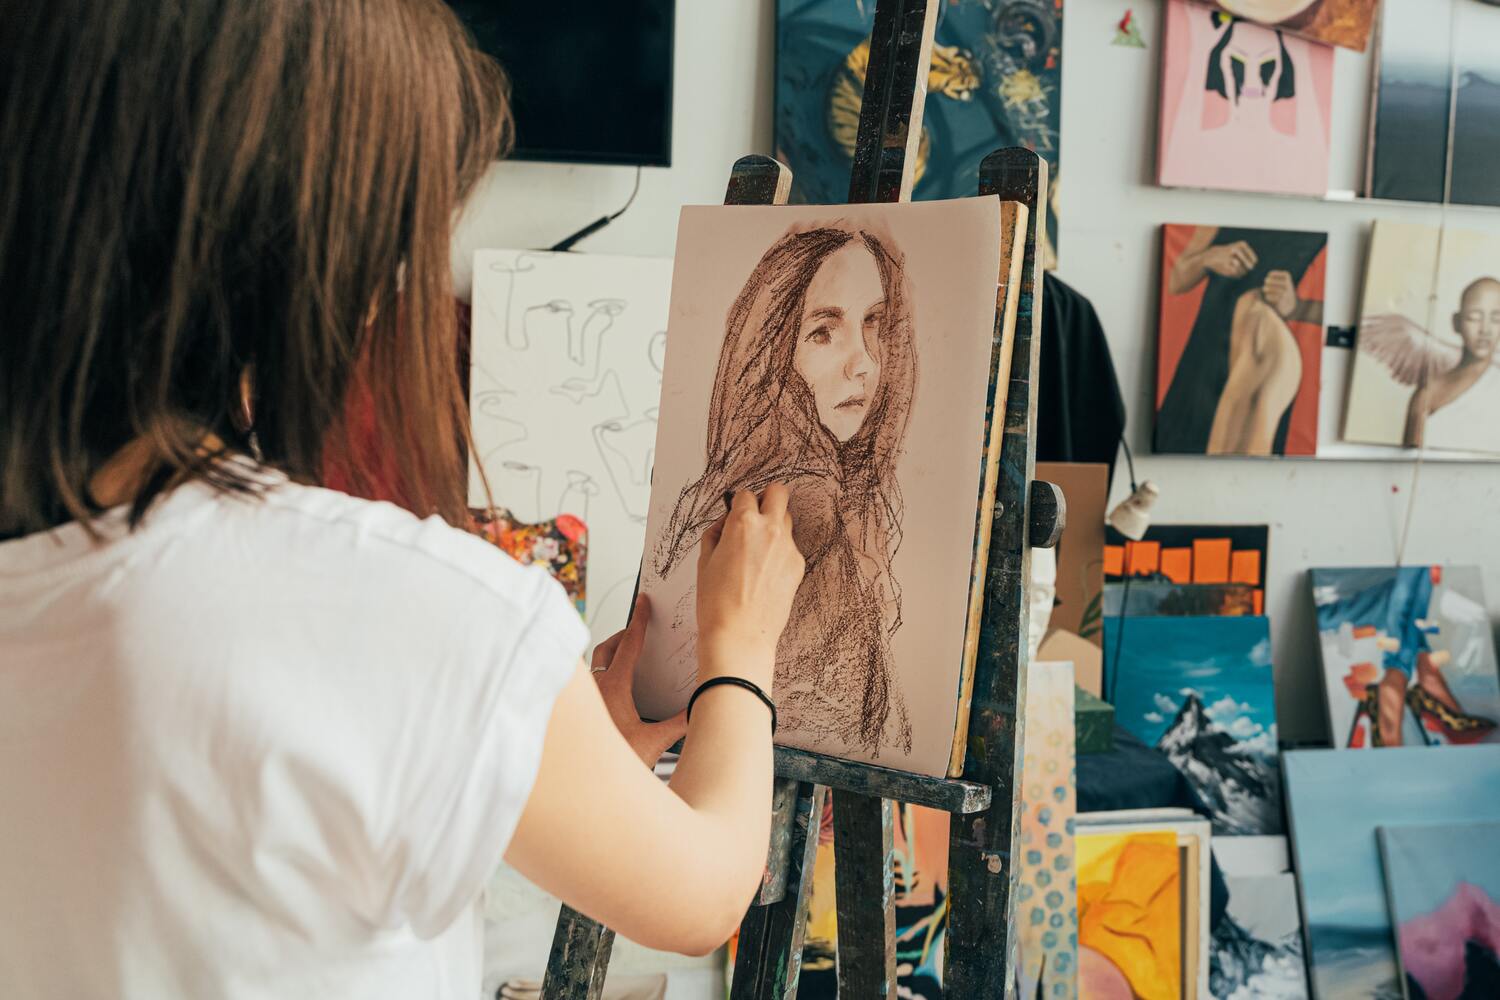
Learn To Produce Beautiful Pencil Drawings With These Shading Techniques
Shading techniques form the very basics of drawing, which is usually our first encounter with artistic processes. From there – the fundamentals of shading begin to pop up in most art practices, including painting and digital art.
Whether you’re a beginner artist or a seasoned professional, understanding and mastering shading is essential for adding depth, dimension, and realism to your artwork. In this article, we’ll explore the different types of shading techniques – understanding why they’re important and how to replicate them within your own art practice.

What does shading mean?
Shading refers to the art of using varying degrees of light and dark values to depict the interplay between light sources, objects, and their shadows. To do this, an artist builds different layers of tone – resulting in darker and lighter areas of a drawing. By strategically applying shading techniques, artists can create the illusion of form, texture, and volume, transforming flat images into visually captivating masterpieces.
Why is it important to learn shading techniques?
Shading is crucial in drawing as it brings depth, dimension, and realism to the artwork. By skillfully manipulating light and shadow, artists can create the illusion of form and volume, making objects appear three-dimensional on a two-dimensional surface. This is the most common reason why artists apply shading to their work.
However, shading also adds texture and detail, making the drawings more visually engaging and believable. It helps define the contours and curves of objects, giving them a sense of solidity and presence. It can also add a sense of atmosphere and mood, enhancing the overall visual impact of the artwork. Whether it’s a simple sketch or a complex masterpiece, shading plays a vital role in transforming flat images into dynamic and engaging drawings.

Basic concepts of shading
For beginner artists, understanding the basics of shading is essential when trying to learn skills and techniques that will one day become second nature. It’s easy to rush straight in without doing your research first – but here are some points we recommend understanding before you dive in:
Light sources and their impact on shading
Light sources are the elements that emit light, such as the sun, lamps, or candles. They play a crucial role in shading as they determine the direction, intensity, and quality of light in a scene. The position and angle of the light source will determine where shadows fall and how they interact with objects. Observing and understanding the behaviour of light sources will help you accurately portray the shading in your drawings.
Differentiating Between Light and Dark Values
When shading, it’s important to understand the concept of values, which refers to the relative lightness or darkness of an object or a specific area within a drawing. Objects closer to the light source are generally lighter, while those farther away are darker. By observing the range of values in a scene and representing them accurately in your drawing, you can create the illusion of depth and volume.
What does ‘value’ mean?
In simple terms, “value” refers to how light or dark something appears in a drawing or artwork. It represents the range of tones or shades from the lightest to the darkest. Imagine a grayscale from pure white to pure black, with different shades of grey in between. These different shades represent the values of objects in a drawing. Values will be crucial when learning various shading techniques.
Highlights, Midtones, and Shadows
Highlights are the brightest areas of an object that directly face the light source. They often appear as small, concentrated spots of light and indicate the reflection of light on a surface. Midtones are the areas that are neither in direct light nor shadow, displaying moderate levels of brightness. Shadows, on the other hand, occur when an object blocks or receives less light, resulting in areas of darkness. Understanding how to differentiate and accurately represent highlights, midtones, and shadows is crucial for creating a convincing sense of depth and volume in your drawings.

How To Learn Shading Techniques
Types of Shading Techniques
Now we’re onto the actual shading processes, what techniques should you use?
Hatching and Cross-Hatching

Hatching involves creating parallel lines or strokes that are evenly spaced apart. These lines can be short or long and can vary in thickness. By using hatching, you can build up values and create texture in your drawing. The closer together the lines are, the darker the area will appear.
Cross-hatching takes hatching a step further. It involves layering additional sets of parallel lines that intersect or cross over the initial set. By adding more lines at different angles, you can create darker areas and more intricate textures. The overlapping lines create a mesh-like pattern that adds depth and complexity to the shading.
Both hatching and cross-hatching are versatile techniques that can be used with various drawing tools such as pencils, pens, or markers. They allow you to achieve different tones and values by adjusting the spacing, length, and direction of the lines.
Blending and Smudging

This shading technique is perhaps the hardest to accurately master, but does provide the most realistic results. Blending involves gently merging or mixing adjacent areas of different values together to create a gradual transition. It is usually done using a blending tool, such as a blending stump, a soft cloth, or even your finger. By softly rubbing or smudging the edges between light and dark areas, you can achieve a more seamless and realistic look. Blending is especially useful for creating soft shadows, subtle gradients, and smooth transitions between different tones.
This shading technique is handy for achieving more subtle shading in your drawings. They help eliminate harsh lines and create a more realistic and blended appearance. However, it’s important to note that these techniques require practice and control to avoid over-smudging or losing too much detail. Experimenting with different tools and pressures will help you find the right balance and achieve the desired shading effects.
Stippling

Stippling is a shading technique that involves creating patterns of small dots or dots of varying sizes to add value and texture to a drawing.
To use stippling, you start by placing individual dots or clusters of dots on the paper. The density and arrangement of the dots determine the overall darkness or lightness of the shaded area. By varying the size, spacing, and intensity of the dots, you can create different tones and textures.
When closely spaced dots are used, they create a darker and more solid appearance. As the dots are spaced farther apart, the value becomes lighter. By layering dots of different sizes and densities, you can achieve a range of values and create the illusion of depth and form.
Stippling is a time-consuming technique but can result in beautiful and intricate textures. It allows you to depict various surfaces, such as rough skin, fabrics, or the texture of objects in nature, by using patterns of dots to represent the different characteristics.
Contour Shading

Contour shading is a simple shading technique that involves using curved lines to follow the contours or shape of an object in a drawing.
To use contour shading, you first identify the outlines or edges of the object you want to shade. Then, instead of using straight lines, you use curved lines that mimic the curves and contours of the object. By carefully observing the object and paying attention to its curves and surfaces, you can create shading lines that accentuate its form and volume.
This shading technique helps to give the illusion of three-dimensionality to a flat drawing. By following the contours, the shading lines add depth and suggest the way light falls on different parts of the object. The closer the shading lines are together, the darker the area appears, while wider spacing creates lighter areas.
This technique is particularly effective for depicting the shape and texture of organic objects such as fruits, flowers, or human figures. Contour shading can be used with various drawing tools, such as pencils or pens, and can be combined with other shading techniques to create more complex and detailed renderings.

Tips and Tricks for Effective Shading
Amongst these shading techniques, we’ve put together some useful tips to help you perfect the process.
Observe Real-Life Objects

Take time to observe real-life objects and how light interacts with them. Notice the areas that are brighter, darker, or in shadow. By closely observing and understanding how light falls on objects, you can apply that knowledge to your shading techniques. This will help you create more accurate and realistic shading in your drawings.
Start with Light Pressure

When shading, begin with light pressure on your drawing tool, such as a pencil or brush. Gradually build up the value and darkness by layering multiple strokes. This allows you to have more control over the shading and makes it easier to correct or adjust if needed. Starting light also helps avoid making your drawing too dark too quickly.
Practice and Experiment

Like with all artistic processes – practice will really make a difference. Due to their being a number of different techniques, it will take a while to establish what works best for you. You may find that you require different techniques for varying projects as there’s no one size fits all when it comes to drawing and shading. Make sure you experiment each technique – and perhaps combine them to create your own unique shading style.
Shading techniques in various art forms
Shading techniques in Painting

Similar to drawing, shading techniques in painting look to create depth and dimension, but are applied using brushes, paints, and wet material. Common techniques include gradation, scumbling, glazing, wet-on-wet blending and dry brushing. Each of these techniques add richness, atmosphere, and realism to paintings, allowing artists to create depth and form on the canvas. Through practice and experimentation, artists can combine multiple strategies into one – developing their own unique shading technique.
Shading techniques in Digital Art

Shading techniques in digital art involve using tools and software to create the appearance of light and shadow. Artists can adopt a variety of techniques such as adjusting settings like opacity and flow, layer modes, gradient mapping, airbrushing and texture overlay. Many of these processes mimic traditional shading techniques and others produce completely new effects. Artists can experiment with these techniques to develop their own style and achieve desired shading results.
Conclusion
The importance of shading cannot be overstated. It enables artists to create the illusion of form, texture, and volume, adding a sense of depth and dimension to their artwork. Shading enhances realism, communicates the interplay of light and shadow, and allows for the depiction of intricate details.
For beginner artists, exploring shading techniques opens up a world of possibilities. By practising observation, understanding light sources, differentiating values, and experimenting with various shading techniques, artists can develop their skills and unlock their creative potential. It is a journey of learning and growth that requires patience, practice, and perseverance.
What are your favourite shading techniques? Let us know in the comments below.
Also, don’t forget you can always share your art with us or tag us on Instagram @darkyellowdot.
Thank you for reading and if you found this article useful, share it around, that makes us happy. To receive more posts like this and updates, join our mailing list, everyone is welcome.
NEED MORE ADVICE?
ARTICLES TO HELP:
Easy Tips On How To Protect Pencil Drawings Without Fixative
How To Use Reference Images For Artists (And Smart Copyright Tips)
7 Drawing Pencils For Beginners That You Need To Make Beautiful Art
SITES TO HELP:
The Big List Of Free Drawing Resources
COURSES TO HELP:
Start Drawing: 3 Fun, Freeing Exercises to Spark Your Creativity
Ultimate Beginner To Advanced Pencil Drawing And Shading
Shading & Values: Use the Power of Light & Shadow to Create Realistic Art
